Reviving a Vintage Computer: A Restoration Log
Prologue: The Machine on the Threshold
It arrives in a cardboard box, or perhaps you find it in a basement, or—if you are extraordinarily fortunate—it has been sitting undisturbed on a workbench for thirty years, exactly where its last user left it. The beige plastic has yellowed to the color of old paper. The weight alone tells you this is not modern technology; this is an artifact from an era when computers were built like battleships.
What you are holding is not merely obsolete hardware. It is a frozen moment in computing history, waiting to be thawed.
This is a restoration log—not of a single machine, but of many. It synthesizes the documented experiences of engineers, hobbyists, and museums who have undertaken the delicate work of bringing vintage computers back to life . From the University of Iowa’s methodical resurrection of a DEC PDP-8 to the Computer History Museum’s legendary PDP-1 project, from Adam Wilson’s Commodore 64 repairs to an enthusiast’s Apple IIc salvage, these logs share a common narrative arc .
What follows is that narrative, rendered as a single, detailed restoration log—a composite portrait of what it truly means to revive a vintage computer.
Phase I: Intake and Initial Assessment
Date: Saturday, February 7, 2026 — 14:30
System: Apple IIc (circa 1984)
Condition: “Rough, but salvageable”
The machine arrives from an estate auction. First impressions: the case exhibits advanced yellowing—the inevitable result of UV exposure and the brominated flame retardants used in 1980s ABS plastic. The keyboard has accumulated three decades of grime in its crevices. No power supply, no video cable, no documentation .
Initial protocol:
Photograph everything. Every connector, every label, every suspicious stain. Restoration is reverse engineering; photography is the primary documentation tool.
Resist the urge to plug it in. The single greatest cause of permanent damage in vintage computer restoration is applying power to a machine with unexamined, aged components.
Create a restoration log. A blank notebook, a text file, or—in the case of the University of Iowa’s PDP-8 project—a meticulously dated chronicle that would eventually span years .
The Iowa team’s log begins with mundane observations: missing mounting bolts, crumbling foam pads, a baggie of miscellaneous hardware found loose inside the Teletype case. Every item is catalogued, every missing part noted as a numbered “Bug” . This discipline transforms an overwhelming restoration into a series of discrete, solvable problems.
Bug #001: No power supply.
Bug #002: No video cable.
Bug #003: Severe case yellowing.
Bug #004: Unknown motherboard condition.
Phase II: The Power Supply—Always the Power Supply
Date: Tuesday, February 10, 2026 — 19:45
Every vintage computer restoration begins and ends with the power supply. This is not metaphor; it is physics.
Electrolytic capacitors have a finite lifespan. Their electrolyte slowly dries out over decades, reducing capacitance and increasing equivalent series resistance (ESR). When an aged capacitor is suddenly subjected to full operating voltage, it can fail catastrophically—sometimes with audible pops and visible smoke, sometimes silently, taking other components with it .
The Computer History Museum’s PDP-1 restoration team documented this extensively. Their log includes photographs of new 30µF capacitor replacements, blue-bodied components with red crosses on their casings, installed where 1960s-era electrolytics had long since failed . Another entry shows four power supply filter capacitors mounted in a yellow-brown case, their wires color-coded in red, bluish-gray, and blue stripes—components that had to be carefully extracted and replaced before the machine could safely receive power .
The safe power-up procedure:
Isolate the power supply from the logic board. If possible, test it with a dummy load.
Use a variac (variable transformer) to slowly bring up the voltage while monitoring current draw. A healthy power supply draws predictable current; a supply with shorted capacitors draws excessive current immediately.
Inspect for the obvious: Bulging capacitor vents, leaked electrolyte, corroded solder joints, cracked traces.
In the Apple IIc restoration, the absence of the original power supply is recast as an advantage. Without the risk of damaging original components, the restorer can focus on fabricating a modern replacement—lighter, more efficient, and safer than the 1984 original .
Bug #001 resolved: Custom power supply fabricated.
Bug #004 deferred: Motherboard inspection pending safe power.
Phase III: Deep Cleaning and Mechanical Restoration
Date: Saturday, February 14, 2026 — 11:20
System: Teletype Model 33 (associated with PDP-8)
The Teletype is not a computer; it is a small factory. Its mechanisms involve solenoids, clutches, code bars, and print hammers. When the University of Iowa team opened their Teletype, they found decades of accumulated grime and the residue of decomposed foam pads .
The print hammer restoration:
The old hammer head came off “as crumbs.” The sticky residue resisted simple solvents. The team’s solution was ingenious and painstaking: a watchmaker’s screwdriver for gross scraping, followed by a loop of cotton string soaked in Goo Gone to erode the remaining adhesive. The final cleaning of the retention groove required five turns of dental floss .
The lesson: Vintage computer restoration is not primarily about electronics. It is about material science, mechanical engineering, and the willingness to clean a single groove with dental floss for twenty minutes.
The keyboard cover repair:
The Teletype’s keyboard cover was missing three plastic mounting lugs—3/16″ diameter protrusions that had snapped off decades ago. The solution: screws installed from the inside, cut to the correct 1/4″ length, backed with nuts, and immobilized with bits of ABS rod glued beside each nut to prevent turning. A broken corner pocket was rebuilt from scrap ABS using Plastruct Bondene solvent cement .
The restoration aesthetic: “Color was ignored in this repair because, with the main cover on, it is invisible.” This is the pragmatic philosophy of the conservator: function first, appearance second, but appearance never entirely disregarded.
For the Apple IIc case:
The extreme yellowing requires a different approach. The standard retrobrighting method—hydrogen peroxide cream activated by UV light—has become the established technique for restoring ABS plastic to its original beige . The process is not without controversy; some argue that it chemically alters the plastic and may accelerate future degradation. The restorer must choose: preserve original patina, or restore original appearance?
Bug #003: Case restoration in progress—peroxide treatment planned.
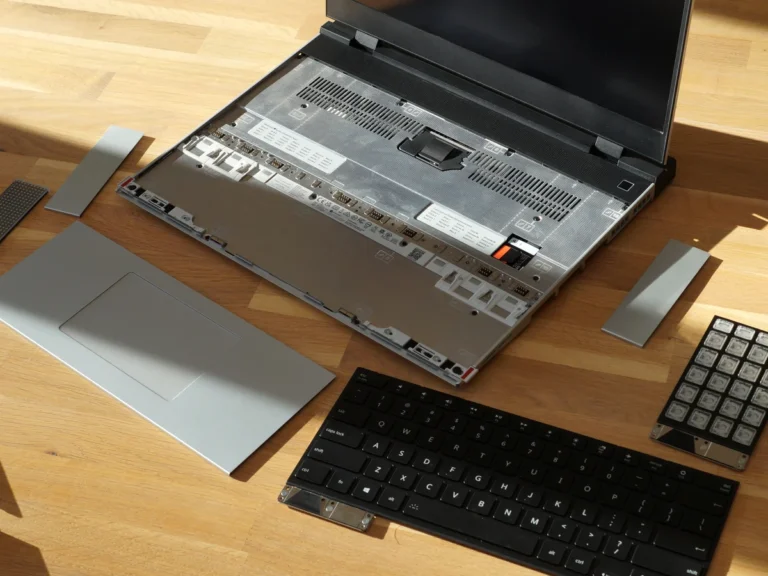
Phase IV: Motherboard Inspection and Component-Level Repair
Date: Wednesday, February 18, 2026 — 20:10
System: Apple IIc
The motherboard is removed from its shielding. Decades of oxidation have dulled the solder mask. Some ICs are socketed; others are soldered directly. The electrolytic capacitors—the same components that plague power supplies—are also mounted on the logic board, and they are equally aged .
Capacitor replacement (recapping):
This is the single most common component-level repair in vintage computer restoration. The procedure:
Identify all electrolytic capacitors on the board. Document their values, voltages, and positions.
Desolder the old components. A vacuum desoldering station is ideal; solder wick and practice are acceptable substitutes.
Clean the through-holes. Excess solder must be removed completely.
Install modern replacements. Low-ESR, high-temperature capacitors are preferred.
The Computer History Museum’s PDP-1 log includes a hand-drawn schematic of a memory power supply, created during troubleshooting by team member Joe Fredrick . This is the essence of restoration: when documentation is missing or incorrect, you create your own.
Bug #004: Motherboard inspection complete. Twelve capacitors identified for replacement.
The backplane mystery:
The University of Iowa’s PDP-8 presented a more complex problem. The machine’s backplane—the passive wiring panel into which circuit boards are plugged—had been modified in the field decades ago. The documentation showed one configuration; the physical wiring showed another. Boards were installed in slots that contradicted the maintenance manual .
The team’s investigation revealed the truth: “All of the wires to slot PA36 were randomly routed and hand wrapped, while most of the backplane wiring was done with an automated wire-wrap machine.” This was not a manufacturing defect; it was a field modification, undocumented and nearly invisible, discovered only through painstaking continuity testing and comparison with logic diagrams .
The restoration decision: The team chose to preserve the modification rather than revert to the documented configuration. The machine had run successfully with this wiring for decades; to change it would be to erase its history.
Phase V: Sourcing and Fabricating Replacement Parts
Date: Monday, February 23, 2026 — 15:15
Vintage computer restoration inevitably encounters the unobtainium problem. Specific integrated circuits go out of production. Custom mechanical parts exist only as NOS (New Old Stock) in the inventories of specialized suppliers. Connectors designed in 1970 have no modern equivalents.
The Teletype print hammer:
Dan Tumey, a Teletype parts specialist, had invested in tooling to mold new hammer heads. The University of Iowa team received a baggie of these reproduction parts—a direct solution to an otherwise intractable problem .
The Apple IIc power supply and video cable:
The restorer fabricates his own. This requires:
Understanding the pinout of the original connectors
Sourcing compatible modern connectors (or harvesting originals)
Building a power supply that delivers the correct voltages (±5V, ±12V for many systems)
Ensuring adequate current capacity
The broken keyboard lug:
When no replacement exists, you manufacture one. The Iowa team’s solution—screws cut to length, nuts immobilized with ABS rod—is not elegant. It is functional. It works .
The Apple IIc+ volume knob:
A 3D-printed reproduction, designed from photographs and measurements, shared freely online for other restorers .
The restoration community: These solutions are not kept secret. They are documented, photographed, and published. The RetroTechCollection Wiki exists specifically to aggregate service manuals, schematics, and repair guides . The Computer History Museum’s catalog makes its restoration logs and images publicly accessible . Vintage computer restoration is not a solitary pursuit; it is a distributed, collaborative effort to preserve technological heritage.
Phase VI: The Sleeper Approach—A Divergent Philosophy
Date: Saturday, March 7, 2026 — 09:30
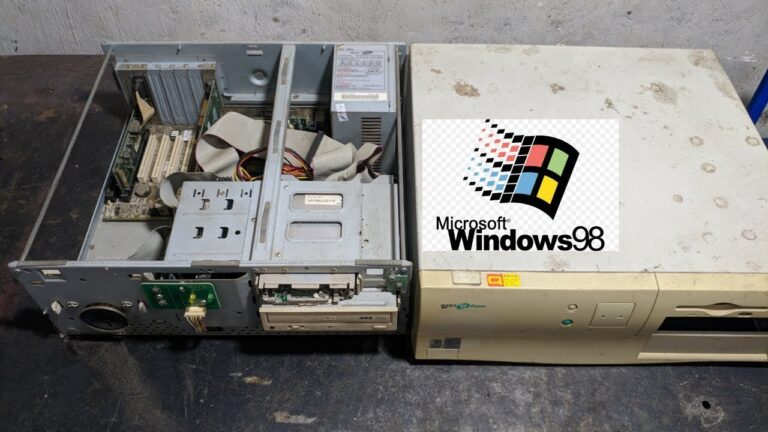
System: IBM PS/2 (circa 1988)
Not all vintage computer restorations pursue historical authenticity. Some pursue transformation.
The “Project IBM Resurrection” worklog, documented on the Bit-tech forums in 2006-2007, describes a different approach. The original PS/2 was non-functional. Rather than repairing it to original specification, the owner chose to gut the machine and install modern components inside the original case .
The original machine:
The resurrected machine:
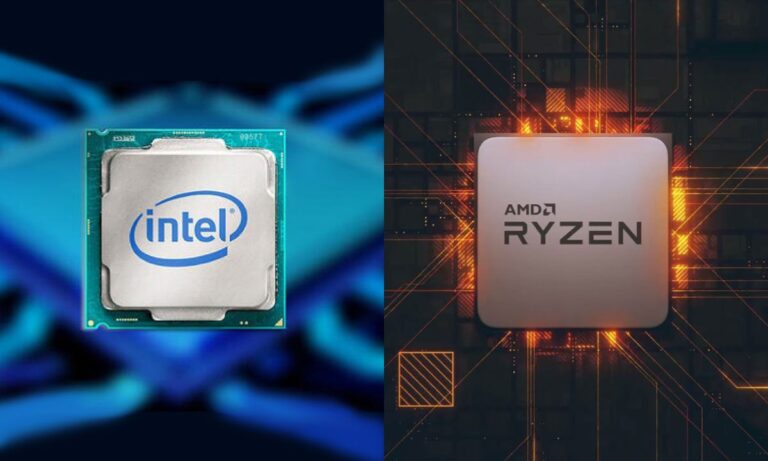
CPU: AMD Athlon 64 3500+
Storage: 4 × 320 GB RAID array
Power supply: 530 watts (modern)
Projected capacity: 3.5 TB
This is the “sleeper” approach, analogous to restoring a classic car by replacing its original engine with a modern powerplant while preserving the exterior appearance. The worklog describes cutting the motherboard tray to size with a Dremel, fabricating a custom hard drive bay from aluminum angle stock, and carefully preserving the original front bezel .
The controversy:
Forum commenter olly_lewis articulates the tension: “That case is a piece of IBM history… though, it’s beyond me how you can cut up and tear apart a piece of HISTORY, how dare you, how dare you sir…” But he concedes: “Though you certainly know what you’re doing and with some precise dremel action you’ve been able to mod the inside of the case to fit the tray while still keeping the outside look of the case and the ‘feel’ of the case” .
The distinction: Historical restoration preserves the original machine as an artifact. The sleeper mod preserves the memory of the machine—its visual identity, its emotional resonance—while making it functionally useful in the present.
Both approaches are valid. Both are documented with equal care in their respective logs.
Phase VII: First Power-On and Debugging
Date: Friday, March 13, 2026 — 21:45
System: DEC PDP-1
The Computer History Museum’s PDP-1 restoration log begins not with the start of the project, but with the first power-on:
*”The restoration started Oct. 29, 2003, but we did not start the operations log until the PDP-1 was first powered up on May 18th, 2004, to begin the operational debugging. Each entry is tied to the running time meter on the machine.”*
Seven months of work, culminating in this moment.
The Type 30 display:
Photographs from the restoration show a stable test pattern on the circular CRT—grid lines, symbols, the DEC logo. Another image displays a character test pattern: uppercase alphabet, numerals 0-9, punctuation marks. A whiteboard checklist hangs nearby, items crossed off methodically, culminating in the final directive: “Load & Run Spacewar!”
Spacewar! — the first interactive computer game, originally written for the PDP-1 by Steve Russell and others in 1962. The restoration team included Russell himself, along with fellow PDP-1 pioneers Alan Kotok and Peter Samson, gathered in front of the machine they had built forty years earlier .
This is the moment that justifies every hour of soldering, every continuity test, every application of dental floss to a Teletype hammer groove. The machine lives again. It runs the software it was designed to run. The original creators see their work running on the original hardware.
Phase VIII: Documentation and Preservation
Date: Wednesday, March 18, 2026 — 16:30
The restoration is complete. The machine runs. The final task is not technical; it is archival.
The restoration log itself becomes a historical artifact.
The University of Iowa’s PDP-8 log, with its numbered bugs and meticulous entries about screw lengths and solvent applications, is deposited in the university’s digital archive. The Computer History Museum catalogs its PDP-1 project materials, making them publicly accessible through its online collection system . The RetroTechCollection Wiki invites users to “share your experience, upload manuals, or contribute repair tips” .
The imperative: Without documentation, the knowledge gained during restoration dies with the restorer. With documentation, it becomes part of the cumulative expertise of the restoration community—available to the next person who encounters a broken Teletype lug, a missing Apple IIc power supply, or a miswired PDP-8 backplane.
Final log entry:
Bug #041: Keyboard cover mounting lugs—repaired.
Bug #042: Keyboard contact block—rebuilt with NOS parts.
Bug #016: Power control panel wiring—analyzed, determined to be correct as configured.
Bug #019: Backplane slot discrepancies—documented, preserved, added to machine history.
System status: OPERATIONAL.
Conclusion: Why We Restore
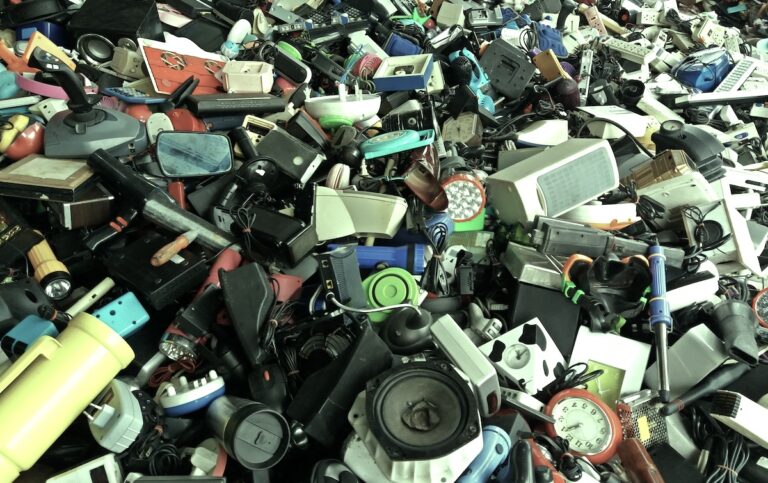
Vintage computer restoration is not economically rational. The time invested far exceeds any monetary value the finished machine might command. The components are obsolete; the performance is laughable by modern standards; the storage capacity of an entire 1980s system can now be contained in a single microSD card the size of a fingernail.
We restore because restoration is the opposite of erasure.
Every vintage computer that is repaired, documented, and preserved is a counterargument to planned obsolescence. It is evidence that designed lifespans can be exceeded, that solder joints can be reflowed, that capacitors can be replaced, that machines designed to be disposable can be made durable through human attention and care.
Adam Wilson, the embedded-systems engineer who restores Commodore 64s and Apple IIs, articulates the deeper lesson: early microcomputers were “simple enough to fully understand, yet sophisticated enough to teach the principles behind timing, bus control, and I/O design that are still valid today” . To restore one is to internalize those principles—to move from being a user of technology to being a comprehender of technology.
The restoration log is the material form of this comprehension.
Each entry is a record of a problem encountered, analyzed, and solved. Each photograph captures a moment of discovery. Each numbered bug, when marked resolved, represents a small victory against entropy.
The machine on your bench is waiting. Its capacitors are drying out. Its plastic is yellowing. Its documentation is scattered across obscure forums and out-of-print service manuals. It has been decades since anyone applied power to its circuits.
But it is not dead. It is dormant.
The restoration log begins now.
Appendix: Resources for the Vintage Computer Restorer
Essential tools:
Quality soldering station with temperature control
Desoldering vacuum or solder wick
Multimeter (DMM)
Oscilloscope (for deeper troubleshooting)
Variac (variable transformer)
Dental floss (genuinely useful; see citation [1])
Patience. Much patience.