The First-Timer’s Guide to Building a Custom PC: From Boxes to Boot
The act of building your own PC can seem like a modern rite of passage, surrounded by an aura of mystique and technical intimidation. Images of complex wiring and fragile components might make it feel like a task reserved for experts. But here’s the secret: it’s adult LEGO with a purpose. By following a logical, patient process, anyone can successfully build a powerful machine tailored to their exact needs. This comprehensive guide will demystify every step, turning apprehension into achievement.
Phase 1: Planning & Purchasing – The Digital Blueprint
Before you touch a screwdriver, success is determined at your desk. Rushing this phase is the most common mistake.
Step 1: Define Your “Why” and Budget
Ask yourself: What is this machine’s primary job?
Gaming: Prioritizes a powerful GPU (Graphics Processing Unit) and a capable CPU.
Content Creation (Video/Photo Editing, 3D Rendering): Needs a strong multi-core CPU, plenty of RAM (32GB+), and a fast GPU.
General Productivity & Everyday Use: Focuses on a balanced CPU, integrated graphics, SSD storage, and quiet operation.
Hybrid/Streaming: Requires a blend of gaming and creation specs—a strong GPU and a multi-threaded CPU.
Your budget dictates everything. A realistic starting point for a capable new gaming PC in 2024 is $800 – $1,200. Remember to include the cost of a monitor, keyboard, mouse, and operating system if you don’t already have them.
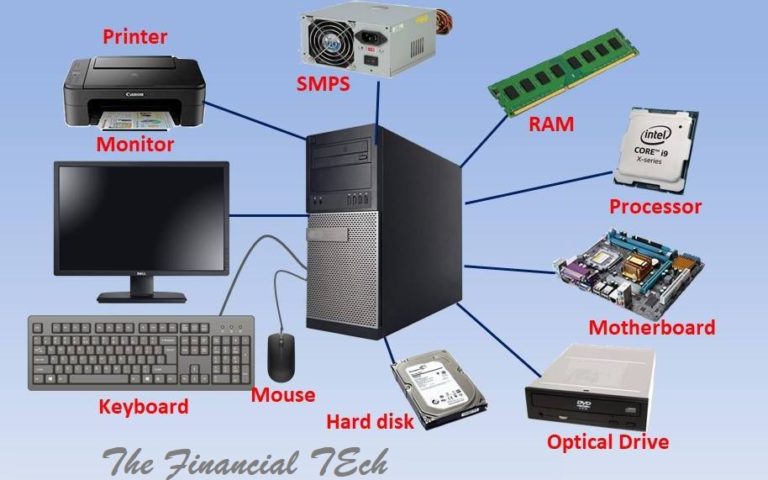
Step 2: Understanding Core Components & Compatibility
A PC is a sum of its parts. Here’s what they do and what to watch for:
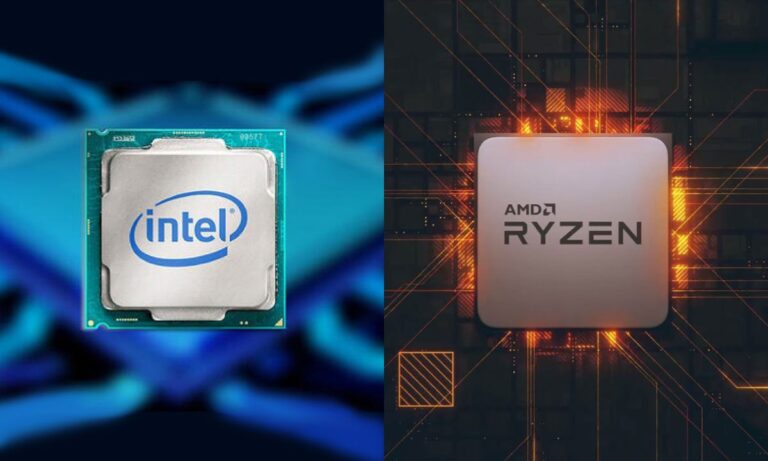
CPU (Central Processing Unit): The brain. From Intel (Core i3/i5/i7/i9) or AMD (Ryzen 3/5/7/9). Must match the motherboard socket (e.g., AMD’s AM5 or Intel’s LGA 1700).
CPU Cooler: Keeps the CPU from overheating. Some CPUs include a basic one; for higher performance, you’ll buy an aftermarket air cooler or liquid AIO (All-In-One).
Motherboard: The central nervous system. It houses the CPU, RAM, and storage, and connects everything. Form factor (size: ATX, microATX, Mini-ITX) must fit your case.
RAM (Memory): Short-term memory for active tasks. Get 16GB for gaming, 32GB+ for creation. Ensure it’s the correct generation (DDR4 or DDR5) for your motherboard.
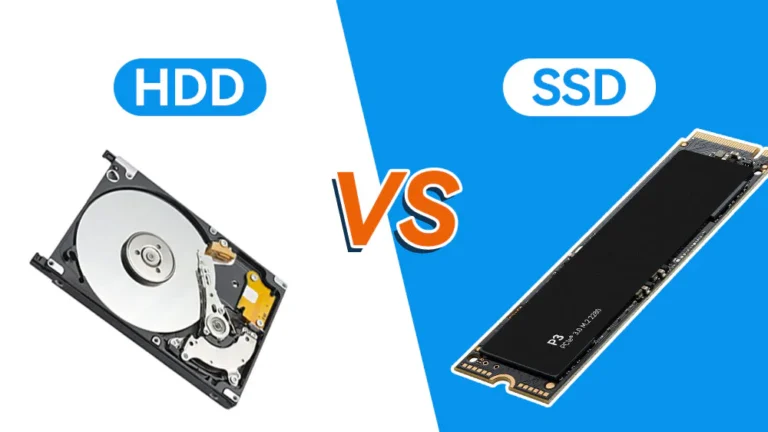
Storage: Your long-term memory. A fast NVMe SSD (M.2) is non-negotiable for your operating system and main apps (500GB-1TB). A larger SATA SSD or HDD (2-4TB) is great for bulk file storage.
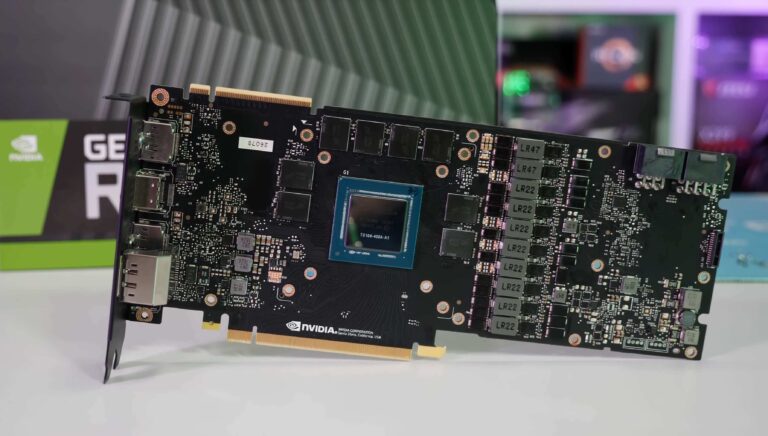
GPU (Graphics Card): The artist, rendering visuals. The most impactful component for gaming and creative work. Must physically fit in your case and have adequate power from the PSU.
PSU (Power Supply Unit): The heart. Powers everything. Do not cheap out. Get a reputable 80 Plus Bronze or Gold-rated unit with enough wattage (use online calculators). Modular cables help immensely with cable management.
Case: The house. Must fit your motherboard form factor and GPU length, and have good airflow.
The Golden Rule of Compatibility: Use PCPartPicker. This free website automatically filters components for compatibility and flags most common issues (size, power, socket). Build your list there first.
Phase 2: The Build – Assembly with Care
Tools Needed: A single magnetic Phillips #2 screwdriver, zip ties or Velcro straps, good lighting, and an anti-static wrist strap (recommended) or frequent touches to a plugged-in, turned-off metal PSU case.
Workspace: A large, clean, non-static surface (a wooden table is perfect).
Step 1: Prepare the Case & Motherboard Tray
Remove all side panels. Route the case’s front-panel cables (power switch, USB) out of the way. Install the I/O shield (the metal plate with ports) that came with your motherboard into the rectangular cutout at the case’s rear. It clicks into place.
Step 2: Install Core Components on the Motherboard (Outside the Case)
This is easier with free space. Work on the motherboard box.
CPU: Lift the retention arm on the motherboard’s CPU socket. Align the golden triangle on the CPU corner with the socket marker. Gently drop it in—no force needed. Lower the arm to lock it.
RAM: Push down the latches at the ends of the DIMM slots. Align the notch on the RAM stick with the slot. Press firmly on both ends until you hear a satisfying click and the latches snap up. Install sticks in slots 2 and 4 (usually) for dual-channel performance.
M.2 SSD: Locate the M.2 slot(s) on your motherboard. Remove the tiny screw, insert the SSD at a 30-degree angle, press it down flat, and secure it with the screw.
Step 3: Install the Power Supply & Motherboard
PSU: Install it in its designated chamber at the case’s bottom or top rear, with the fan facing an external vent. Secure it with four screws.
Motherboard: Locate the standoff screws pre-installed in your case—they must align with the holes in your motherboard. Carefully lower the motherboard onto the standoffs and secure it with screws (don’t overtighten).
Step 4: Install the CPU Cooler
Air Cooler: Most require installing a backplate behind the motherboard. Apply a pea-sized amount of thermal paste to the center of the CPU (if your cooler doesn’t have it pre-applied). Follow your cooler’s manual to secure it evenly and firmly.
AIO Liquid Cooler: Mount the radiator to the case (typically at the top or front), attach the pump/waterblock to the CPU (with thermal paste), and connect the radiator fans and pump to the motherboard headers.
Step 5: Install Storage & Graphics Card
SATA SSD/HDD: Mount them in dedicated drive bays and connect a SATA data cable to the motherboard and a SATA power cable from the PSU.
GPU: Remove the appropriate PCIe slot covers from the back of your case. Press down the latch at the end of the PCIe x16 slot on the motherboard. Align the GPU and press down firmly until it clicks. Secure it to the case with screws.
Step 6: The Wiring – Making It All Talk
This is the most daunting but most satisfying part. Stay organized and consult your motherboard manual for header locations.
CPU Power (4+4 pin): From PSU to top of motherboard.
Motherboard Power (24-pin): From PSU to right side of motherboard.
GPU Power (6+2 pin): From PSU directly to the GPU.
Case Front-Panel Connectors: Tiny cables for Power Switch (PWR_SW), Reset, and LEDs. The manual is essential here.
Case Fans & RGB: Connect case fan cables to SYS_FAN headers. Connect any RGB lighting to RGB or ARGB headers.
Cable Management: Neatly route cables behind the motherboard tray and use zip ties. Good airflow and aesthetics depend on this.
Phase 3: First Boot & Setup – The Moment of Truth
Triple-Check: Ensure all power cables (24-pin, CPU, GPU) and RAM are fully seated.
Connect Peripherals: Plug in your monitor (to the GPU, not the motherboard), keyboard, and power cable.
Power On: Flip the PSU switch to “I,” then press the case’s power button. You should see lights, fans spin, and hear a beep or see a POST code. The first boot may take a minute.
Enter BIOS/UEFI: Immediately press the key shown on screen (usually Del or F2). This is your pre-OS control panel.
In the BIOS:
Check that your RAM is running at its advertised speed (enable XMP/EXPO).
Verify your boot drives are detected.
Ensure your CPU cooler fan is registered.
Install Your OS: Insert your Windows or Linux installation USB. In the BIOS, set the USB drive as the primary boot device, save changes, and restart. Follow the on-screen OS installation prompts.
Install Drivers: Once in the OS, install the latest drivers for your motherboard, GPU, and other components from the manufacturers’ websites.
Troubleshooting Common First-Build Issues
No Power, No Lights: Check the PSU switch, the front-panel power connector (PWR_SW), and that the 24-pin cable is fully clicked in.
Power On, No Display: Is the monitor plugged into the GPU? Is the GPU’s power cable connected? Reseat the RAM and GPU.
Fans Spin, Then Stop: This often indicates a RAM issue. Try one stick at a time in different slots.
Conclusion: You Built More Than a PC
You’ve built confidence, knowledge, and a machine that is unequivocally yours. You understand its inner workings, can upgrade it with ease, and can troubleshoot it without fear. The initial intimidation gives way to profound satisfaction. Welcome to the builder’s club—your journey from boxes to boot is complete. Now, go enjoy the fruits of your labor.