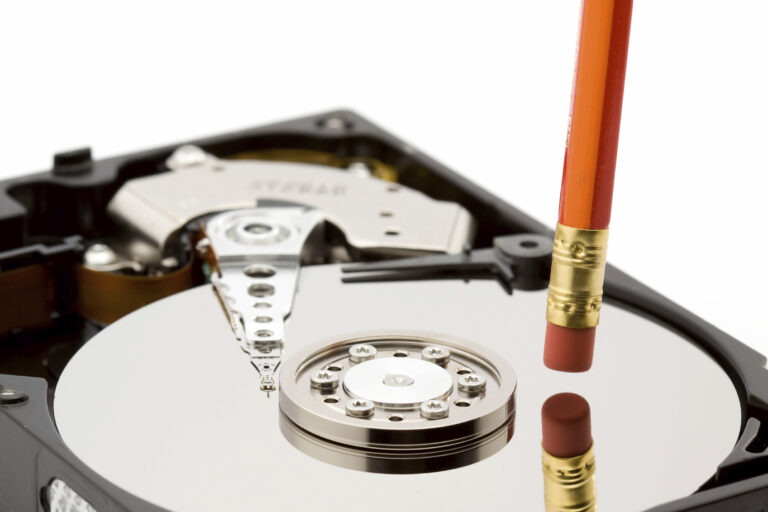
The Complete Guide to Securely Wiping Your Old Hard Drive: Beyond the Recycle Bin
When it’s time to retire an old computer or external hard drive, simply deleting files or formatting the drive is one of the most dangerous digital myths. These actions do not remove data—they merely hide it from the operating system, leaving it fully recoverable with common software. Whether you’re selling, recycling, or tossing a drive, failing to properly wipe it is like throwing away a locked diary with the key taped to the cover. This guide will walk you through the professional methods to ensure your sensitive data—from personal photos to financial documents—is irrecoverably destroyed before your hardware changes hands.
Why Simple Deletion is a Data Security Illusion
To understand secure wiping, you must first understand how storage devices manage data.
The “Table of Contents” Analogy: When you delete a file or format a drive, your computer doesn’t erase the 1s and 0s that make up the data. It simply removes the pointer to that data’s location—like erasing a chapter’s entry from a book’s table of contents. The chapter remains until it’s overwritten by new data.
The Risk: Anyone using free recovery tools like Recuva, TestDisk, or even more advanced forensic software can easily scan the drive’s raw sectors and reconstruct your “deleted” files.
The only way to prevent this is to overwrite the data before disposal.
Phase 1: Preparation & Choosing Your Method
What You’ll Need:
The old computer or external hard drive.
A second, working computer.
A USB-to-SATA adapter (for internal drives removed from a laptop/desktop).
A blank USB flash drive (8GB+).
Approximately 1-2 hours of time per drive.
Crucial First Step: Identify Your Drive Type
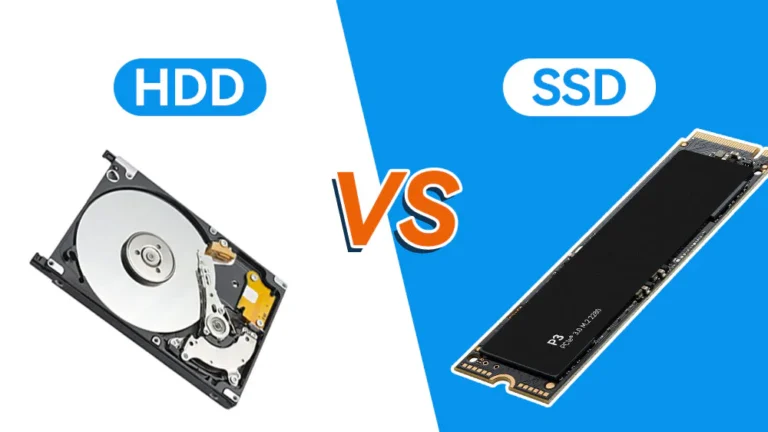
The method you use depends entirely on whether you have a Hard Disk Drive (HDD) or a Solid State Drive (SSD).
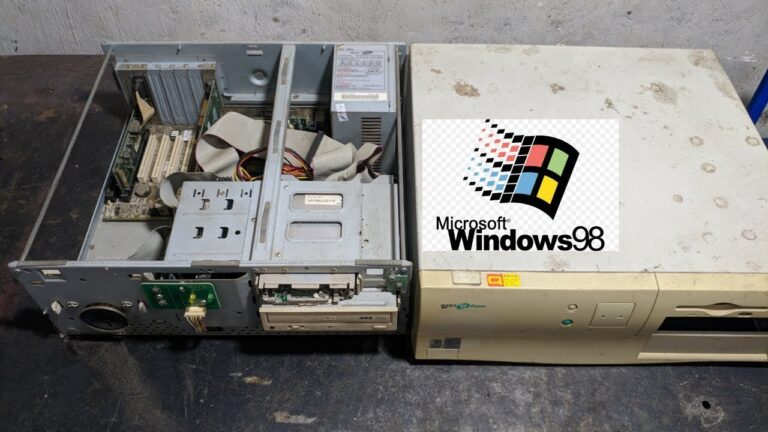
How to Tell Them Apart: Physically, HDDs are heavier, have metal casings, and often visible spinning parts inside. SSDs are lightweight, silent, and often have a plastic or bare circuit board look. You can also check your old computer’s specs or the model number on the drive label (search it online).
Phase 2: The Secure Wipe Process
Method A: For Hard Disk Drives (HDDs) – Software Overwriting
This method uses free, trusted software to write meaningless data (often random 1s and 0s) across every single sector of the drive, often multiple times. A single full overwrite is sufficient for modern drives, making older “7-pass” or “35-pass” standards (like DoD 5220.22-M) largely obsolete for consumer use.
Recommended Tool: DBAN (Darik’s Boot and Nuke)
DBAN is the industry-standard free tool for this job. It runs from a USB drive, ensuring it can wipe the entire system drive, including the OS.
Step-by-Step Guide:
Download & Create Bootable Media: On a working computer, download the DBAN ISO file from dban.org. Use a tool like Rufus (Windows) or BalenaEtcher (Windows/macOS/Linux) to write the ISO to your blank USB flash drive. This will erase the USB drive.
Connect the Target Drive: If wiping an external drive, simply plug it in. If wiping your computer’s internal drive, it’s already connected. If wiping an internal drive from another machine, connect it using your USB-to-SATA adapter.
Boot from the USB: Insert the DBAN USB, restart the target computer, and enter the boot menu (typically by pressing F12, F10, Esc, or Del during startup). Select the USB drive to boot from.
Run DBAN:
At the blue DBAN screen, press Enter.
Use the arrow keys to highlight the drive you want to wipe (identify it by size and model). BE ABSOLUTELY CERTAIN YOU HAVE SELECTED THE CORRECT DRIVE.
Press the Spacebar to select it (an [X] will appear).
Press F10 to start the wipe with the default method (DoD Short), which is a 3-pass overwrite. This is more than adequate.
Let It Run: The process can take several hours for a large drive (e.g., 6-12 hours for 2TB). Let it complete uninterrupted.
Completion: DBAN will report “PASS” when finished. The drive will now be completely blank and unrecoverable.
Alternative for the Tech-Savvy: Linux dd Command
If you have a Linux system, you can use the terminal:
sudo dd if=/dev/urandom of=/dev/sdX bs=1M status=progress
⚠️ Warning: Replace sdX with your actual drive identifier (e.g., sdb). Using the wrong identifier will destroy data on the wrong drive. This command performs a single random data overwrite.
Method B: For Solid State Drives (SSDs) – Use Built-in Commands
Due to wear-leveling and spare cells, overwriting software cannot reliably reach all data blocks on an SSD. The most secure and efficient method is to use the drive’s built-in ATA Secure Erase command, which instantly resets all memory cells to a factory-empty state by applying a brief, high voltage.
Best Tool: Parted Magic (Paid, but Gold Standard)
This bootable Linux environment includes a graphical tool specifically for issuing the ATA Secure Erase command.
Purchase and download Parted Magic ($15-20).
Create a bootable USB, boot from it, and launch the “Erase Disk” tool.
Select your SSD and choose “Secure Erase.” The process takes 1-10 minutes.
Free Alternative: Manufacturer’s Tools
Most SSD brands (Samsung, Crucial, Kingston, etc.) offer free downloadable “SSD management” or “sanitization” tools that can perform a secure erase. You often need to run these from within Windows, so this method only works if the SSD is a secondary/non-OS drive in a working system.
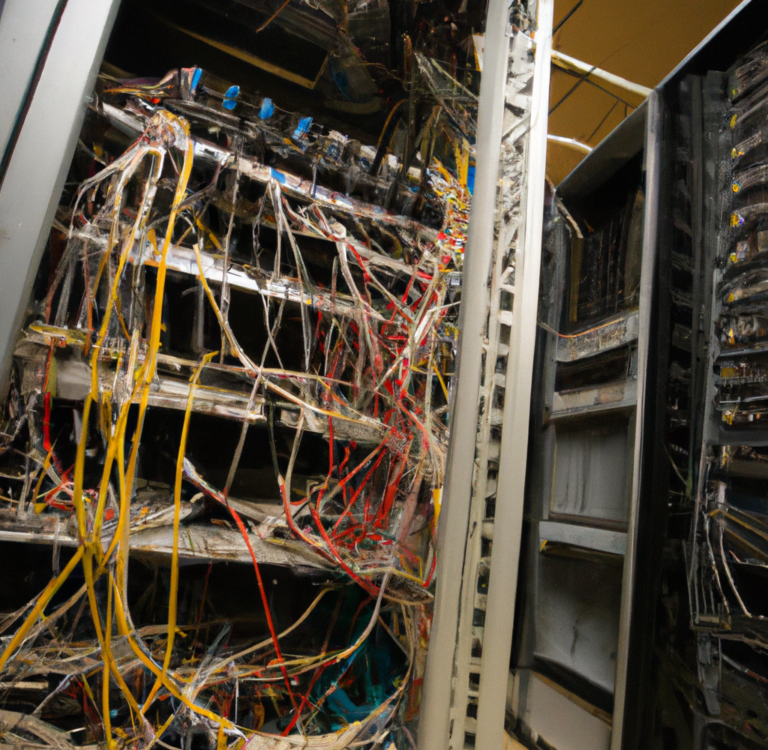
Method C: For Any Drive When Software Isn’t an Option: Physical Destruction
If a drive is dead, or you require absolute physical certainty (for highly sensitive data), destruction is the final option. The goal is to destroy the platters (HDD) or the NAND flash memory chips (SSD).
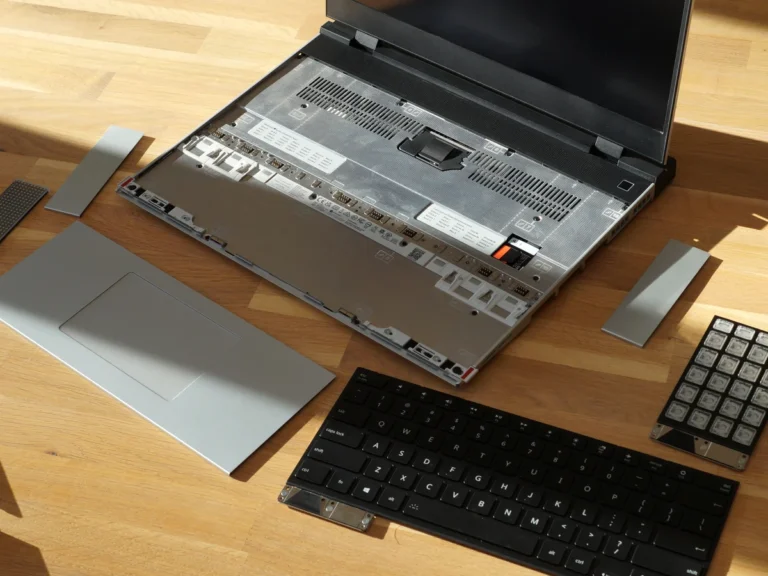
For HDDs:
Open the Case: Remove the drive from its enclosure (requires a Torx security screwdriver, often T8 or T10).
Remove the Platters: Unscrew the circular platters inside. They are glass or metal coated with magnetic film.
Destroy the Platters: Wearing safety glasses and gloves, deeply scratch both sides of each platter with a metal tool (screwdriver, angle grinder). For maximum security, shredding via a professional service is recommended.
For SSDs:
Open the Case: SSD cases are often less fortified.
Locate & Destroy the NAND Chips: Identify the black, rectangular chips on the circuit board.
Destroy the Chips: Use a hammer or drill to puncture and shatter these chips. A few solid, focused hits are effective.
⚠️ Critical Safety Note: Never incinerate or microwave a drive. The toxic fumes and extreme fire risk are severe hazards. Drilling/breaking should be done in a well-ventilated area with full personal protective equipment (safety glasses, gloves, mask).
Phase 3: Final Steps & Responsible Disposal
Verification (Optional): After wiping with DBAN or Secure Erase, you can reconnect the drive. Your computer will recognize it as a new, unformatted drive, asking you to initialize it—a good sign the wipe was successful.
Responsible Disposal:
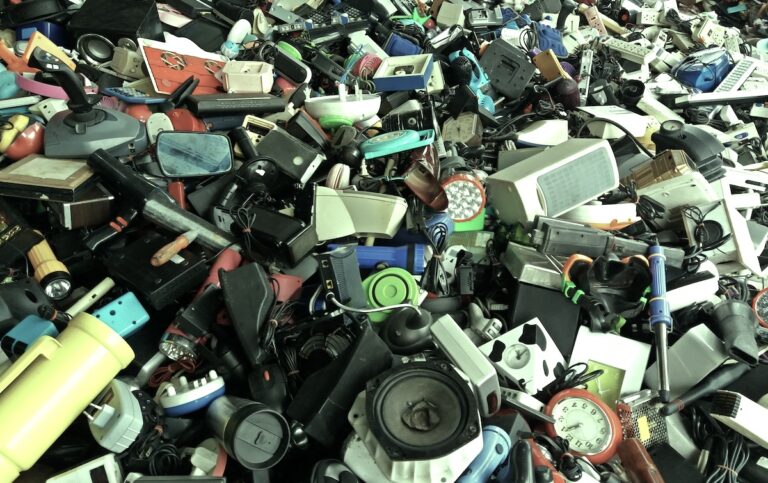
Recycle: E-waste contains hazardous materials. Never throw drives in the trash. Use a certified e-waste recycler. Many electronics stores (Best Buy, Staples) offer free drop-off.
Donate: A securely wiped drive can be donated with old computers to schools or non-profits.
Sell: A properly wiped drive can be sold for parts or reuse on platforms like eBay. Always state it has been “securely wiped” in the listing.
Summary: Your Action Plan
By taking these steps, you do more than just protect your privacy; you break the cycle of e-waste by enabling safe reuse and recycling. You transform a potential security liability into an ethically concluded chapter of your digital life. The peace of mind that comes with knowing your personal history cannot be scavenged from an old hard drive is well worth the afternoon’s effort.