Mobile Photography Techniques: Mastering Rule of Thirds, Night Mode, and Portrait Mode in 2026
Introduction: The Art of Seeing Through Your Phone
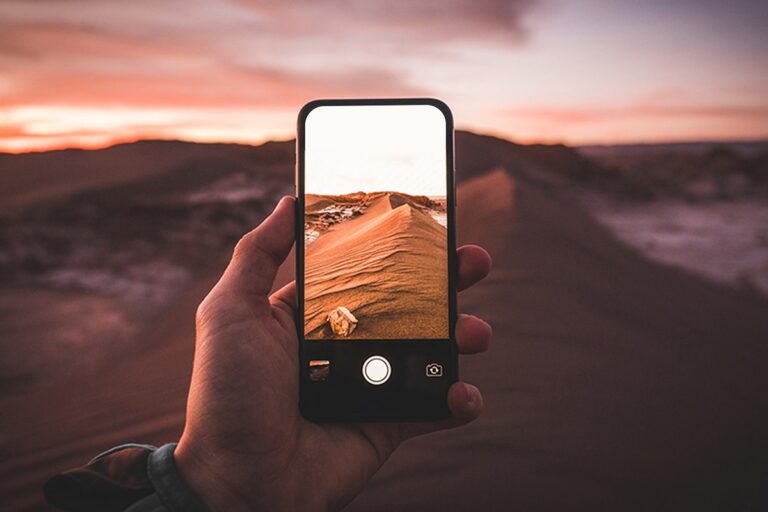
Your smartphone camera is likely the most powerful tool you own that you’re not fully using. In 2026, even mid-range smartphones can capture images that rival professional cameras from just a few years ago . But hardware alone doesn’t make great photos—technique does . The difference between a forgettable snapshot and a compelling photograph isn’t the device in your hands; it’s understanding how to see like a photographer.
This guide focuses on three essential techniques that will transform your mobile photography: the timeless composition principle of the rule of thirds, the technological marvel of night mode, and the creative possibilities of portrait mode. Whether you’re documenting family moments, exploring new cities, or building a social media presence, mastering these techniques will elevate your images from ordinary to extraordinary.
Part 1: The Rule of Thirds – Your Foundation for Compelling Composition
Understanding the Principle
The rule of thirds is perhaps the most fundamental and powerful tool in visual design . The concept is beautifully simple: imagine dividing your frame into a 3×3 grid with two equally spaced horizontal lines and two vertical lines . The intersections of these lines—often called “power points”—are where the human eye naturally gravitates .
By placing your key elements along these lines or at their intersections, you create balance and visual interest that draws the viewer’s eye naturally through the image . The reasoning is straightforward: this approach creates more dynamic and engaging photographs than simply centering your subject .
Setting Up Your Phone
Enabling the grid overlay is the first step to mastering this technique. On iPhone, navigate to Settings > Camera and toggle on the grid . On most Android devices, open your camera app, go to Settings, and look for “Grid lines” or a similar option .
Once activated, these guidelines become your compositional training wheels. With practice, you’ll internalize the principle and apply it instinctively even without the grid visible .
Practical Applications
For Portraits: Position your subject’s eyes along the upper horizontal line . This creates a natural, comfortable composition that feels professional rather than amateur. The rule applies whether you’re photographing people, pets, or even flowers .
For Landscapes: Place the horizon along either the top or bottom horizontal line, depending on whether you want to emphasize the sky or the foreground . A horizon line smack in the middle often creates a static, less interesting image. If the sky is dramatic with colorful clouds, place the horizon along the bottom third to let the sky dominate. If the foreground has interesting textures or leading lines, place the horizon along the top third .
For Street Photography: Position key elements—a person walking, a distinctive building feature, a splash of color—at one of the four intersection points . This creates tension and visual flow that guides the viewer through the scene.
When to Break the Rules
The rule of thirds is a guideline, not an unbreakable law . Perfect symmetry, with your subject dead center, can be powerfully effective for certain subjects . Architecture, reflections, and patterns often benefit from centered composition. The key is intentionality: know why you’re placing your subject where you are, whether following the grid or deliberately breaking it.
Part 2: Night Mode – Capturing Darkness with Clarity
How Night Mode Works
Night mode represents one of the most significant advances in smartphone photography . Rather than taking a single photo, your phone captures multiple frames over several seconds—sometimes dozens of images—and stacks them together using sophisticated algorithms . AI then reduces noise, brightens dark areas, and sharpens details .
This technique, called computational photography, allows your phone to accomplish what would be impossible with hardware alone: producing bright, clear, detailed images in conditions where traditional cameras would struggle .
Essential Techniques for Night Mode Success
Stability is Everything
The single most important factor in night mode photography is keeping your phone absolutely still . When night mode activates, your phone will typically display a countdown—anywhere from 2 to 5 seconds . During this time, your phone is capturing multiple exposures, and even slight movement can cause ghosting or blur .
Professional stabilization techniques include:
Rest your phone on a flat surface like a table, windowsill, or wall
Use both hands and brace your elbows firmly against your ribs, creating a stable human tripod
Lean against a wall, tree, or other solid structure
Consider a compact tripod or phone grip for serious night photography
Control Your Breathing
Your breathing moves your entire body more than you realize . Inhale deeply, exhale slowly, and take your photo at the bottom of the exhale when your body reaches maximum stillness . Practice this technique until it becomes automatic.
Use a Timer or Remote Trigger
Pressing the shutter button with your finger introduces unavoidable movement . Set your camera’s timer to 3 or 10 seconds, step back, and let the phone fire automatically . Alternatively, use the volume buttons on your phone or a Bluetooth remote . Some phones even support voice commands to trigger the shutter .
When Night Mode Excels
Night mode produces stunning results with stationary subjects in low light :
Cityscapes at night: Buildings, bridges, and streets come alive with balanced lighting
Street photography: Lamp posts, store windows, and neon signs create dramatic atmospheres
Landscapes: Moonlit scenes, starry skies (though dedicated astrophotography modes work even better)
Indoor shots: Restaurants, museums, and dimly lit rooms
However, night mode struggles with moving subjects . People walking, cars moving, or anything that shifts during the multi-second exposure will appear blurred or “ghosted” . For action in low light, you’ll need to switch to manual mode and prioritize faster shutter speeds .
Manual Mode Alternatives
For photographers wanting more control, manual mode offers flexibility that night mode can’t match . Key settings to understand:
A Step-by-Step Night Mode Workflow
Follow this sequence for consistently improved low-light images :
Assess the scene: Identify your subject and available light sources
Clean your lens: Smudges scatter light and reduce clarity dramatically
Activate Night Mode (or switch to manual mode for more control)
Stabilize your phone using surface, grip, or tripod
Tap to focus on your subject and adjust exposure if needed
Use timer or remote trigger to eliminate shake
Wait for processing after capture—don’t exit immediately
Review and edit lightly if needed
Part 3: Portrait Mode – Achieving Professional-Looking Portraits
Understanding Portrait Mode
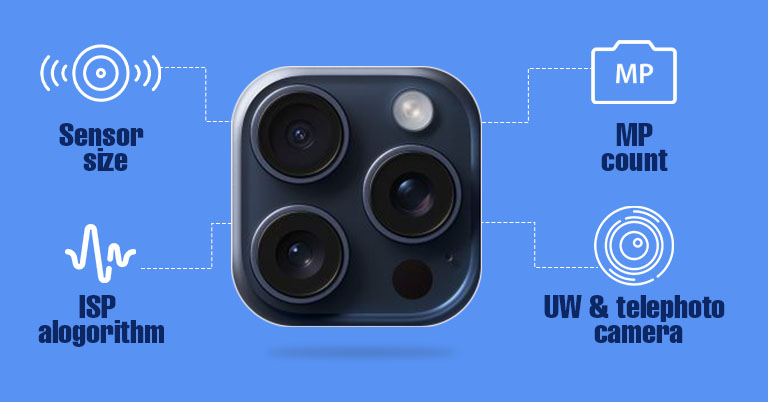
Portrait mode is designed to do what professional cameras do naturally: keep your subject sharp while softly blurring the background . This effect, called bokeh, instantly makes photos look more professional and visually appealing .
Modern smartphones achieve this through a combination of hardware and software :
Depth sensors or multiple cameras to measure distance between subject and background
AI edge detection to identify the subject’s boundaries with precision
Computational blur applied selectively to background areas
The best implementations maintain sharp detail around hair and other complex edges, preventing the “cut-out” look that plagued early portrait modes .
Best Practices for Portrait Mode
Maintain Proper Distance
Keep your subject approximately 1-2 meters (3-6 feet) away from the camera . Too close, and the camera may struggle to focus; too far, and the background blur effect diminishes.
Ensure Good Lighting
Portrait mode works best with ample light on your subject’s face . Natural daylight from a window or outdoor shade provides soft, flattering illumination . Avoid harsh overhead lighting that creates unflattering shadows.
Choose Your Background Wisely
Busy backgrounds with distracting elements compete with your subject . Look for clean, simple backgrounds that let your subject stand out. Distance between subject and background enhances the blur effect—the greater the separation, the more natural the bokeh .
Lock Focus on the Eyes
When photographing people, the eyes should be the sharpest element in the image . Tap the screen to focus on your subject’s eyes before capturing. This small step makes a significant difference in perceived quality.
Beyond People: Creative Applications
Portrait mode isn’t just for faces . Experiment with:
Pets and animals: Their fur provides excellent texture for edge detection
Flowers and plants: Isolate a single bloom against a soft garden background
Food and objects: Create professional-looking product or still life images
Small items: Capture details with beautiful background separation
Adjusting After the Shot
Many smartphones allow you to adjust background blur intensity after taking the photo . Don’t be afraid to experiment—you can always revert to the original. Some phones even let you refocus on different subjects after capture, giving you creative flexibility impossible with traditional cameras.
Part 4: Bringing It All Together – A Practical Workflow
Professional results come from disciplined habits. Follow this step-by-step process every time you shoot :
Preparation Phase
✅ Clean your lens with a microfiber cloth—smudges ruin clarity
✅ Enable grid lines in camera settings
✅ Assess lighting conditions and choose appropriate mode
Capture Phase
✅ Compose deliberately using the rule of thirds
✅ For low light, stabilize your phone and use night mode
✅ For portraits, maintain proper distance and lock focus on eyes
✅ Take multiple shots from different angles and exposures
Editing Phase
✅ Edit with intention—enhance, don’t distort
✅ Adjust exposure and contrast subtly
✅ Use apps like Snapseed or Lightroom Mobile for advanced control
✅ Reduce noise in low-light shots, but avoid over-sharpening
Organization Phase
Part 5: Common Mistakes and How to Avoid Them
Composition Mistakes
Centering everything: While occasionally effective, centering every subject creates static, uninteresting images. Use the rule of thirds to create dynamic tension .
Cluttered frames: Ask yourself: “Can I remove any element?” . Sometimes moving closer or changing angle eliminates distractions.
Night Mode Mistakes
Moving during capture: The most common cause of ruined night shots. Use timers and stabilization religiously .
Relying on flash: Built-in flash flattens depth, creates harsh shadows, and destroys atmosphere . Rely on available light or night mode instead.
Portrait Mode Mistakes
Insufficient lighting: Portrait mode needs good light on your subject. Dim conditions confuse edge detection .
Too much distance: If your subject is far away, the background blur effect diminishes. Get closer or switch to standard mode.
Universal Mistakes
Ignoring the lens: A smudged lens ruins clarity and contrast. Check and clean before every important shot .
Relying only on auto mode: Auto mode makes conservative choices. Take control with night mode, portrait mode, or manual settings when conditions demand it .
Over-editing: Pushing sliders too far destroys natural tones. Subtlety is the hallmark of professional editing .
Part 6: Essential Accessories for Mobile Photography
While technique matters most, a few affordable accessories can significantly expand your capabilities :
Conclusion: Practice, Patience, and Passion
The difference between an average photo and an extraordinary one isn’t the phone you hold—it’s the intention behind the image. The rule of thirds gives you a framework for composition. Night mode opens creative possibilities after dark. Portrait mode lets you capture subjects with professional flair.
But techniques alone aren’t enough. Great photography requires three things:
Practice: Take photos every day. Experiment with different subjects, lighting conditions, and compositions. Review your work critically and learn from both successes and failures .
Patience: Wait for the right light. Wait for the decisive moment. Wait for your phone to process that night mode shot. Rushing produces mediocre results .
Passion: Photograph what moves you. Your emotional connection to a subject will translate through the lens and resonate with viewers .
Your smartphone is a powerful creative tool—arguably the most capable camera most people will ever own. By mastering these fundamental techniques, you transform that tool into an instrument of expression. The next time you pull out your phone to capture a moment, remember: you’re not just taking a picture. You’re creating a visual story that could be shared, remembered, and cherished for years to come.
Now go out and shoot.