The Ultimate Guide to Self-Hosting Your Email Server: Freedom, Fear, and Fortitude
The Alluring Dream of Digital Sovereignty
In an era of corporate surveillance, algorithmic filtering, and the unsettling feeling that your inbox is not truly your own, the idea of self-hosting an email server exerts a powerful pull. It represents the ultimate form of digital self-reliance: owning your data, controlling your privacy, and breaking free from the whims of tech giants. For the technically inclined, it’s the final frontier of home server projects—a badge of honor. But beneath this romantic ideal lies a stark reality of arcane protocols, relentless security threats, and administrative tedium. This guide cuts through the hype to explore the true pros, cons, and immense challenges of running your own mail server, helping you decide if this pursuit of email independence is a noble quest or a fool’s errand.
Part 1: The Promise – Why Even Consider It?
The arguments for self-hosting are compelling, rooted in principles of autonomy and security:
Absolute Privacy and Data Ownership: Your emails, contacts, and meta-data reside on hardware you control. They are not scanned for advertising, locked into a proprietary ecosystem, or subject to data mining policies you didn’t write. You are the sole steward of your correspondence.
Unfiltered Communication: You escape the “big mailbox” algorithms that can silently divert newsletters to promotions or important messages to spam. You set the rules. Your delivery rate to other inboxes depends on your server’s reputation, not a corporation’s filtering decisions.
Customization and Unlimited Identities: Want 50 different email addresses for different purposes? With a personal domain and a self-hosted server, you can create them instantly (newsletters@yourdomain.com, shopping@yourdomain.com). No arbitrary limits on aliases or storage.
Deep Technical Learning: The process provides an unparalleled education in core internet technologies: DNS (Domain Name System), SMTP (Simple Mail Transfer Protocol), IMAP/POP3, TLS (Transport Layer Security) encryption, and system administration.
Part 2: The Harsh Reality – Cons and Critical Warnings
For every pro, there is a significant, often underestimated, con. Self-hosting email is arguably one of the most difficult and thankless self-hosting projects.
Deliverability is Your Battle, Not Your Provider’s: This is the single biggest challenge. Major email providers (Gmail, Outlook, Yahoo) are inherently suspicious of small, independent mail servers. You must meticulously build and maintain a positive sender reputation.
Requirements: A static, residential IP address (often against ISP ToS), perfect reverse DNS (rDNS) setup, strict configuration of SPF, DKIM, and DMARC records to prove you aren’t a spammer, and maintaining a very low spam complaint rate.
Consequence: One misstep—a misconfigured forwarder, a compromised account—can land your server’s IP on a blacklist, causing all your outgoing mail to be rejected or junked for days or weeks.
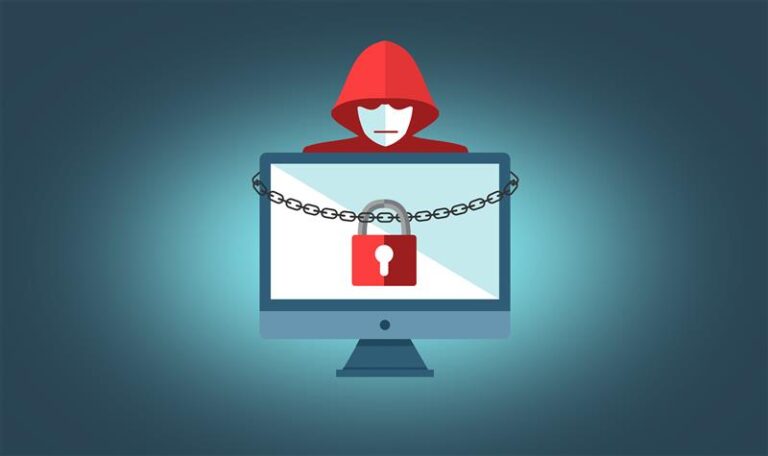
Security is a 24/7/365 Responsibility: Your server is a constant target for automated attacks. You are responsible for:
Hardening the OS: Regular security updates, fail2ban to block brute-force attacks, and firewalls.
Securing the Mail Stack: Preventing your server from being used as an open relay (a spammer’s dream) is just the start. You must guard against backscatter and manage grey-listing.
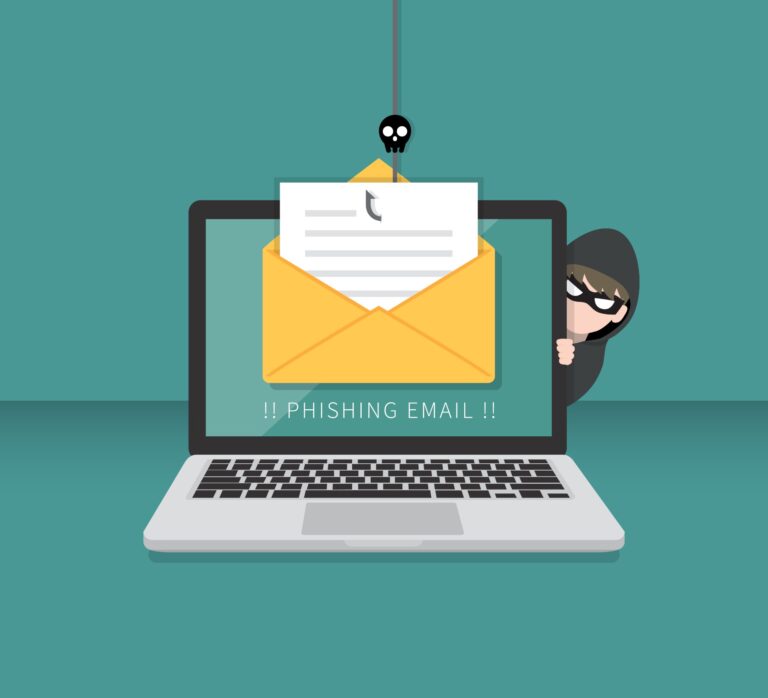
Fighting Spam: You need to run spam filters like SpamAssassin or Rspamd, constantly tuning them to catch spam without losing legitimate mail.
Reliability is Non-Negotiable: If your home internet goes down, your power fails, or your Raspberry Pi overheats, your email is inaccessible. You miss crucial messages. Achieving the “five-nines” (99.999%) uptime of professional services is nearly impossible from a home connection.
The Administrative Time Sink: This is not a “set it and forget it” system. It requires ongoing monitoring of logs, renewing SSL/TLS certificates, updating software, managing disk space, and troubleshooting failed deliveries.
Bottom Line Warning: If your primary goal is “better, easier email,” self-hosting is almost certainly the wrong path. If your goal is “complete control and an advanced learning project,” and you accept the burdens, then proceed.
Part 3: The How-To – A High-Level Roadmap for the Determined
If the warnings haven’t deterred you, here is a conceptual roadmap. This is not a step-by-step tutorial but an outline of the complex journey ahead.
Phase 0: Prerequisites and Mindset
A Domain Name: This is your email address (you@yourdomain.com). Buy one from a registrar like Namecheap or Cloudflare.
A Suitable Server: NOT a residential dynamic IP from your ISP. You need:
A static IP address, preferably from a VPS (Virtual Private Server) provider like Linode, DigitalOcean, or Vultr. A home server is possible but far harder for deliverability.
A stable, always-on internet connection with ports 25 (SMTP), 587 (Submission), 465 (SMTPS), 993 (IMAPS), and 143 (IMAP) unblocked.
Basic Linux Competency: You must be comfortable using the command line, editing config files with nano or vim, and managing services.
Phase 1: Building the Foundation
Server Setup: Deploy a clean Linux server (Ubuntu Server or Debian are common choices). Harden it: create a non-root user, set up a firewall (ufw), and install critical updates.
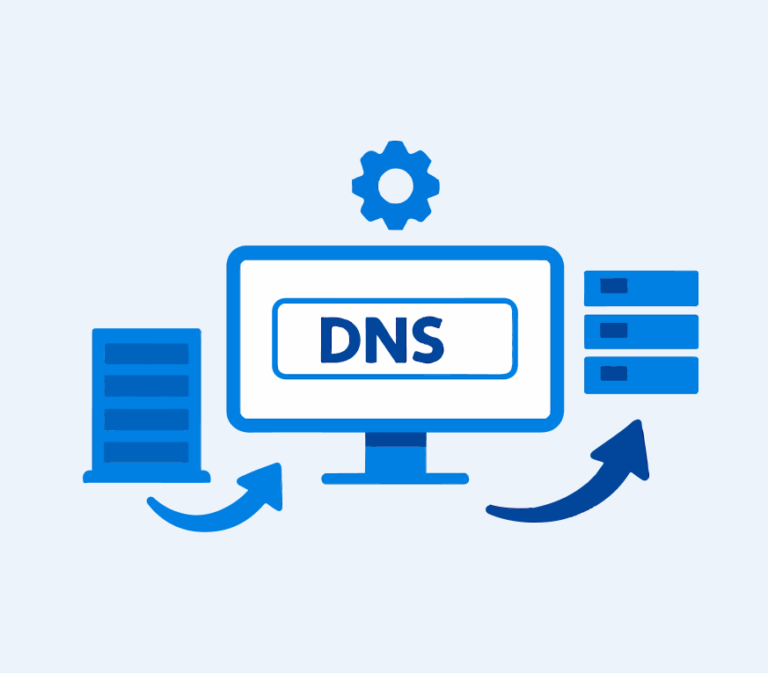
DNS Configuration (THE MOST CRITICAL STEP): Your domain’s DNS records tell the world how to handle your mail. You must configure:
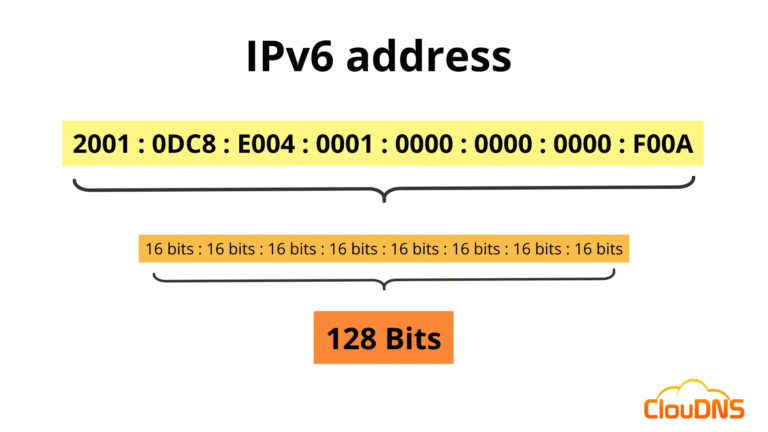
A/AAAA Records: Point your domain (yourdomain.com) and mail subdomain (mail.yourdomain.com) to your server’s IP address.
MX Record: Directs all email for @yourdomain.com to your mail server (mail.yourdomain.com).
SPF Record: A TXT record listing all servers authorized to send mail for your domain.
DKIM Record: Adds a cryptographic signature to your outgoing mail, proving it came from you and wasn’t tampered with. This involves generating a public/private key pair.
DMARC Record: A policy telling receiving servers what to do with mail that fails SPF or DKIM checks, and where to send reports.
Reverse DNS (rDNS): Your VPS provider must set this so your server’s IP address resolves to your mail.yourdomain.com hostname.
Phase 2: Installing and Configuring the Mail Stack
A typical stack involves multiple cooperating pieces of software:
Postfix (or Exim): The Mail Transfer Agent (MTA). It’s responsible for sending and receiving email via SMTP. Configuration is vast and complex, centered around main.cf.
Dovecot (or Cyrus): The IMAP/POP3 Server. It allows your email clients (Thunderbird, Apple Mail, Outlook) to retrieve and organize mail from the server. It handles authentication and mailbox storage.
Spam Filtering (Rspamd/SpamAssassin): Integrates with Postfix to scan incoming mail and tag or reject spam.
Webmail (Roundcube, RainLoop, or Mailu): A web-based interface to access your email from any browser.
Admin Panel (Optional but Recommended):
For a fully integrated suite: Mailcow or Mailu are Docker-based solutions that bundle Postfix, Dovecot, spam filtering, webmail, and an admin panel into one containerized setup. This is highly recommended for beginners as it simplifies management dramatically.
For a traditional setup: PostfixAdmin or Virtualmin can help manage domains and mailboxes.
Phase 3: Testing, Securing, and Going Live
Test Everything: Use tools like MXToolbox and mail-tester.com to diagnose DNS and configuration errors. Send test emails to Gmail, Outlook, and Yahoo and check headers for authentication passes.
Enforce Encryption: Ensure TLS is enforced for all connections (SMTP, IMAP). Use Let’s Encrypt for free SSL certificates.
Monitor Relentlessly: Set up logging (tail -f /var/log/mail.log) and monitoring alerts for disk space, failed logins, and service outages.
Conclusion: A Rational Alternative – The Hybrid Approach
For most people seeking more control without the operational nightmare, a pragmatic hybrid is the best path:
Use a paid, privacy-focused email host with your own domain. Providers like Proton Mail, Tutanota, Fastmail, or Migadu offer:
Strong privacy policies and encryption.
The ability to use @yourdomain.com.
Professional-grade deliverability and reliability.
A clean webmail and mobile app experience.
Without the need to manage servers, fight spam, or protect against blacklists.
You retain ownership of your identity (the domain) and gain privacy, while outsourcing the immense complexity of mail server operation to experts.
Self-hosting an email server is a profound technical achievement that offers genuine sovereignty. But it is also a part-time job that punishes mistakes harshly. It is a pursuit for the dedicated hobbyist, the privacy absolutist, or the eternal learner—not for the average user seeking a better inbox. Choose your path not based on romance, but on a clear-eyed assessment of the trade-offs between absolute control and simple, reliable utility.